Tuesday, December 18, 2018


Hello! I can't believe it's been so long since I've posted. I've had this card done for a while and this post has been sitting here with the pictures in it. I just haven't gotten around to writing the post. So I'm going to make this a quick post. But I wanted to share this holiday card before the holiday has come and gone!! I can't believe Christmas is almost here. I thought I was going to be on top of things this year but no here I am this last week running around like crazy finishing up my shopping. Then I need to find time to wrap. I guess I'll be holed up in the basement during the evenings while the kids are asleep wrapping gifts this week. Maybe while I'm down there I'll sneak in some crafting too. Hehehe! I have some fun new items from the Occasions catalog I want to play with.


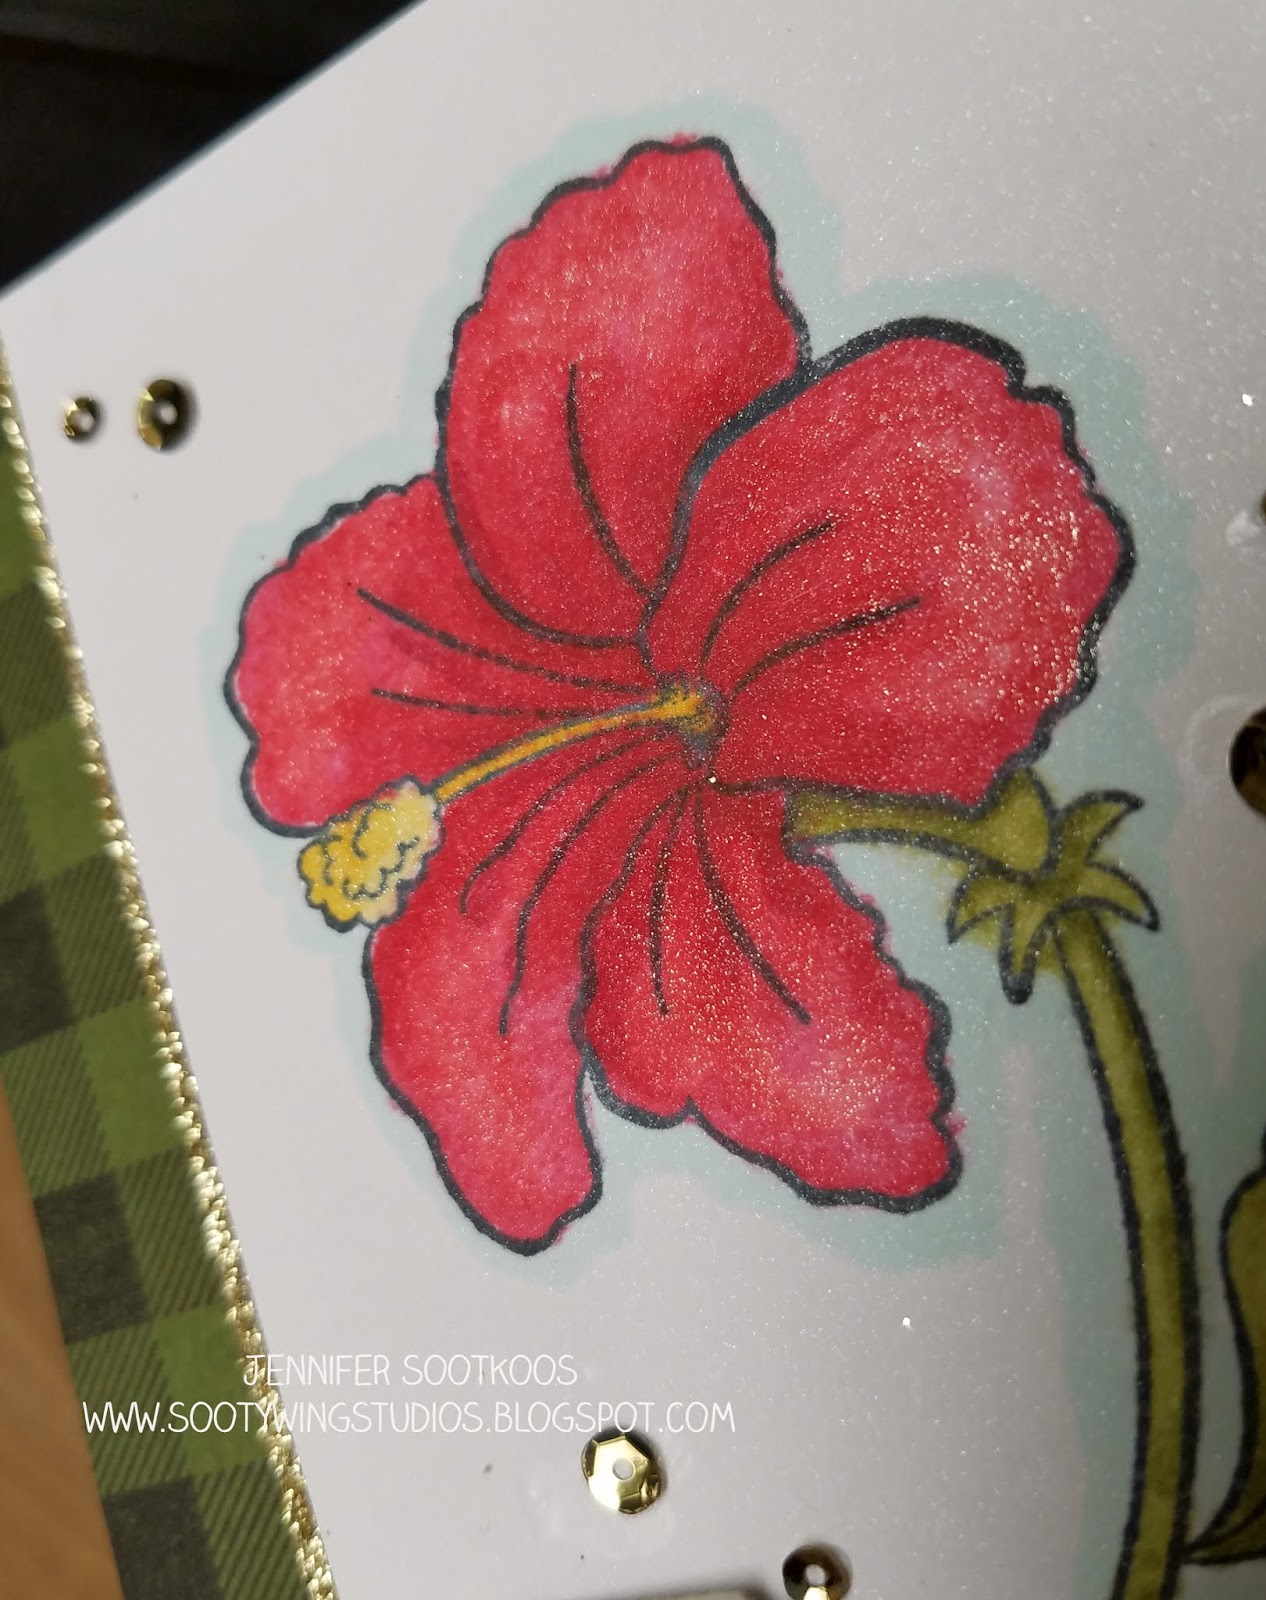
Moving on. I used the Merry Christmas to All bundle with the Frosted Floral DSP. I love this paper. It's just so shimmery (which is hard to tell in these photos).  This is a bit of an unexpected color combo for me but I like it. I tried to do something different than I usually do. Colors used are: Merry Merlot, Tranquil Tide, and Mossy Meadow.


Some fun things to check out on the card are the swirls on the leaves. They are from one of the stamp sets in the bundle. Cute right!?

Sorry for the short post but I hope to be back soon. I'm not sure if it will be holiday related as I still have some gift cards to package and I want to make them cute and crafty or if it will be something from the new catalogs. It will be a surprise! :)

Have a wonderful day!

Monday, November 26, 2018

Buffalo Plaid Christmas Elves


Happy Monday! I hope everyone enjoyed the Thanksgiving holiday. Ours was good. We hosted a dinner on Thursday so we were busy beforehand cleaning cooking and decorating for Christmas! :) Our new tradition is to decorate for Christmas while we host Thanksgiving. While it's extra work to do while we are trying to prep and clean and it's so nice to have it done so after Thanksgiving we can rest. Plus most of our family doesn't come back to our house after thanksgiving so no one really gets to see our decorations. Oh and did I mention that once Thanksgiving is over we can REST! haha! that is the best part. So I used the few days off to go to a winery with some girlfriends, go to the mall and movies with the kids and then just watch football on Sunday.

I did squeeze in some craft time too. I used my two new favorites (Signs of Santa and Buffalo Plaid). Doesn't the red buffalo plaid go perfectly with those little elves?


This card came together fairly quickly. I spent the most time coloring the elves. (Especially because I had to color 1 of the elves twice since he didn't die cut evenly).  But after I colored and cut the elves, I stamped a stitched shape circle with one of the images from the set in Pool Party ink on Pool Party card stock. The buffalo plaid stamp was stamped in black ink on Real Red card stock.

The sentiment is from Cookie Cutter Christmas (which is on sale today for 10% off....QUICK, Hurry go grab this set!) I wanted a smaller sentiment and I didn't feel like using the ones in the Signs of Santa set and I thought this was perfect. After I added the sentiment, I added a few green enamel shapes.

Have I convinced you all to get these 2 stamp sets yet?? I sure hope so because they are just the best!

Have a wonderful day!

Friday, November 16, 2018

Colorful Seasons Snowflakes


Hello! Well yesterday's snow was a whole lot more than we were expecting!!! What started out as a storm what was only going to produce 1 - 3 inches of snow turned into about 7 or so!! That is way too much snow for me for early November! It sure looked pretty but was a nightmare for anyone on the road.

Well to start off the winter season early, haha!, I have some snowy, wintery cards to share. I actually made these a while ago but haven't gotten around to sharing now. But now seems like the perfect time!


To start these cards, using Night of Navy and Balmy Blue ink, I made a water color background on Shimmery card stock. I did use a tiny bit of blue Brusho as well for some of the darker areas. Once I was happy with the background, I die cut snowflakes (from the Seasonal Layers thinlits). Those snowflakes were used on the second card.


Behind the snowflake cut outs, I added Dazzling Diamonds glimmer paper for more sparkle! I used the Merry Christmas to All bundle for the sentiment. Then added Gray Granite ribbon, Polka Dot tulle ribbon and Iridescent sequins. Isn't this so pretty?!


For the second card, I embossed the white card stock with the subtle embossing folder and layered that on to Dazzling Diamonds glimmer paper. (the glimmer paper is sticking out from the edges in case you can't see it in the photos). The sentiment is from the Sincerely Santa stamp set and it was stamped in Night of Navy ink on Vellum. I layered this oval cut out onto Balmy Blue card stock that was cut with the Stitched Labels framelits.


After I glued everything together I added some white sequins from the Basic Adhesive-Backed sequins and a Silver Baker's twine bow.

So what do you think? Which one is your favorite??

Stay warm and have a great weekend!

Thursday, November 15, 2018

Humming Along - Christmas Flower


Happy Thursday! Or if you're here in the northeast, Happy Snow Day! It's November and I can't believe we are supposed to be getting our first snowfall today. It shouldn't be too much but I'm just not ready for that yet. It was so nice and hot in Orlando last week and now here we are getting ready for snow!

Anyway, I have about 1,000 other things I should be doing but I couldn't help myself to play with one of the new stamp sets that we received at OnStage. This set is called Humming Along and will be available in the new Occasions catalog. This was one of the sets that everyone attending received. I wasn't sure I liked it at first but now that I colored in this flower, I can see that I will love it.


I colored the flower using the following Stampin' Blends colors: Real Red, dark Cherry Cobbler (for shading in the middle of the flower), Daffodil Delight, Old Olive and light Pool Party for the outside shading. If you notice in the closeup, the flower has a nice shimmer. I stamped the image on Shimmery Card stock and added Wink of Stella to the flower for some extra sparkle.


The background of the card is Mossy Meadow stamped with the Buffalo Plaid stamp in black ink. I LOVE, LOVE, LOVE this stamp! I sure it hope it carries over into the new year!! And the Merry Christmas is from the Merry Christmas to All bundle. Don't you just love that font in the Christmas die cut! So fancy!!

For those of you getting snow, I hope you enjoy it!

Thanks for stopping by!

Tuesday, November 6, 2018

Christmas Ornaments


Happy Tuesday! I have one more project (for now) to share using the Signs of Santa stamp set. I told you, I love this set! I wanted to get this project shared before I head out to Stampin' Up!'s convention in Orlando this week. I leave tomorrow and I'm ready for tons of stamping and meeting friends for the next few days!


The ornaments are from Michael's and come with  2 - half circles to a package so that you can make 1 ball ornament. Instead of making them a ball ornament, I added a cardstock backing to them so I could get 2 ornaments.


For the elves, I stamped the Buffalo Plaid stamp in Coastal Cabana ink on Pool Party cardstock. I die cut it with one of the Layering Circle framelits. To give it a little additional support I die cut the largest circle from the Stitched Shapes framelits with some of the thick cardstock found in the DSP packages. You know, that piece of thin card board that supports the DSP. It's perfect for some extra support on the ornaments!


Inside the ornament, I stamped, color and die cut images from the Signs of Santa set. I used a bunch of dimensionals to make them pop. For the elves, I also added some of the discontinued Santa's Workshop enamel shapes. Once I glued everything onto the cardstock, I added a bunch of retired mica flakes that I had lying around. You could you any kind of sequins or other fun things to add into the ornament.

Once that was all done it was time to add the ornament to the card stock. I ran hot glue around the ornament and glued it to the card stock. It wasn't looking so I added another thin layer of glue and adhered some ribbon around the outside. For the elves ornament, I added Garden Green Baker's twine. For the Santa ornament, I added some retired Real Red tinsel trim.


For both ornaments, I added a Garden Green baker's twine bow and loop to add it to the tree.


One thing to note on the background of the Santa ornament, I used a piece of the Festive Farmhouse DSP instead of stamping the background. Looks super cute too!!


I am so happy with how these came out! The characters are adorable and they give off a ton of sparkle. My kids loved shaking them and they can't wait to make some of their own!

I will be back next week after a fun filled trip to Orlando. I'm sure I will have tons of pictures to share!

Sunday, November 4, 2018

Christmas Elves!


Hello! I'm back again with another card using Signs of Santa! I can't tell you how much I love all of the images in this set. Sooo don't be surprised when I have another project to share this week with this set. But it's a super duper cute project that you will love!

I started this card with the Festive Farmhouse DSP for the background. I took a piece of Gray Granite card stock, cut out a circle and embossed it with the Subtle embossing folder. I love this embossing folder for adding just a little bit of texture to the card stock.


The little elves were colored with the Stampin' Blends. The colors I used were: Real Red, Old Olive, Daffodil Delight, Crumb Cake, Petal Pink, Bronze, Gray Granite, and Flirty Flamingo (light). Isn't that guy peeking out from the circle adorable?

The sentiment is from the Merry Christmas to All stamp set stamped in Cherry Cobbler and Mossy Meadow.


For the finishing touch I added some of the Santa's Workshop Enamel Shapes (which have unfortunately sold out) and Garden Green Baker's twine. I did use several different green's on this card but that's the one thing that's great about Stampin' Up!, all of the colors just go together so well!

I hope you enjoyed these mischievous little guys! 

Monday, October 29, 2018

Signs of Santa


Happy Monday!! I know it isn't even Halloween yet but I just had to share this card with the super cute Signs of Santa stamp set. This is the most adorable stamp set ever. I wasn't going to get it because I didn't really need any more holiday sets but it was just so hard to pass up that cute Santa and Mrs. Claus. Actually all of the images in this set are so cute! I couldn't wait to color them in.


I used the Stampin Blends to color these in but any coloring medium would work great. The colors I used were: Real Red, Granny Apple Green, Pool Party, Smoky Slate, Daffodil Delight, Petal Pink, Flirty Flamingo, and Crumb Cake. Unfortunately my dies are on backorder so I had to cut these guys out by hand. It will be so much better when I can die cut a bunch of them out.

Once I cut them out I layered them on an Oval stitched shape that was embossed with the Subtle embossing folder. The background DSP is from the Brights 6 x 6 DSP collection. On top of the Coastal Cabana polka dots, is a strip of Real Red card stock that was stamped with the Buffalo Plaid stamp. Then I added a strip of Sparkle Glimmer paper and Garden Green baker's twine. Then I finished it off with the sentiment from the set and a couple of the Santa's Workshop enamel shapes. Another super cute new item!


As much fun as I had coloring in these stamps, my kids thoroughly enjoyed it as well! My son loved these as soon as they arrived and he couldn't wait to put together his own Christmas scene with these stamps. I'm so glad that he enjoys stamping almost as much as I do. Ha! :)

Edit: Here is the scene my son put together with the set (along with a couple of other stamps).


Have a great day!

Friday, October 26, 2018

Global Design Project #161 - Harvest Blessings


Happy Friday!! Fall is in full swing here! Cold temps and leaves falling. I'm still not ready for it but I guess I'll just have to go with it! Ha! Today's card is certainly very fall like. I played along in the Global Design Project challenge this week. I've probably said this before but color challenges are my favorite challenges. Here are the colors for this week:


For my card, I used the Colorful Seasons stamp set, Buffalo Plaid stamp set and Country Home (for the sentiment).

To start I stamped the large leaf in Crushed Curry ink, stamped it off once on scrap paper and then sponged Pumpkin Pie ink on the edges. I love how it came out. It definitely helped to stamp off some of the Crushed Curry color so it wasn't too intense. After I stamped all of the large leaves, I filled up some of the white space with the smaller leaves stamped in Pumpkin Pie and Crushed Curry. I used the wonderful Buffalo Plaid background stamp to add to the fall look. And I thought I wasn't going to need this stamp! Yeah right!


The sentiment is stamped in Early Espresso on Sahara Sand cardstock. Then I added some gold glimmer leaves that were die cut with the Seasonal Layers thinlits. Love that splash of sparkle!


And as always the final touch is sequins. Can't have a card without sequins. I am surprised that I don't have any ribbon on there. I don't think this card needs any ribbon. It's so pretty as is!

Thanks for stopping by and have a fabulous weekend!

Monday, October 15, 2018

Country Home Hello


Happy Monday! I have another pretty card to share using the Country Home stamp set. I didn't think I was going to like this set as much as I do! I feel like the colors I used are a little more springy than fall but that just shows how versatile this set it!

I used the Stampin' Blends to color in the image on Shimmery White cardstock. Colors used are: Smokey Slate, Old Olive, Granny Apple Green, Bermuda Bay, Calypso Coral and Highland Heather.


The image was cut out and layered on Frosted Floral and Wood Textures DSP. I love the way these 2 DSPs work together. The cute little Hello sentiment is from the set and is stamped on Highland Heather card stock.


On the tin holding the flowers, I added a Calypso Coral bow and one of the Blossoms elements. Those little flowers are so cute! This was my first time using them! I also added the Share What You Love Artisan pearls and Iridescent sequins. I just can't make a card without sequins! :)

I hope this card brightened up your day!

Thanks for stopping by! Enjoy your day!

Product List