Showing posts with label easter. Show all posts

Tuesday, March 20, 2018

Just Add Ink #140 - Happy Easter

Hello! Happy Spring or shall I say Happy snow day in the northeast! More snow expected tomorrow. I’m so over it already. To help me get over the winter blues, I made a spring-y card for you. The Just Add Ink blog is celebrating 400 challenges so I decided to play along this week. The challenge this week is an inspiration challenge.


I took inspiration from the colors on the eggs and the speckles. I wanted to make an easter card since I realized easter will be here in no time and I haven't made any cards for that yet.


I am using the Southern Serenade set for this card. This was a set I totally just glanced past when I saw it in the catalog but then I received a fabulous card from Becky Foster Cowley with this set and I just had to have it.

Anyway, I stamped the flower image and colored in the flowers with my aqua painter and Elegant Eggplant and Pear Pizzazz ink. I cut out the image and layered it on Soft Sky card stock.

The crumb cake card stock is stamped with the lace image from the set and I splattered Elegant Eggplant ink over the card.


The Crumb Cake piece was glued onto a piece of Whisper White that was stamped with the Diagonal stripe stamp in Powder Pink. If you notice behind the Crumb Cake card stock is some of the white glimmer paper from the Myths and Magic glimmer pack. I like how it kind of takes on a pink look to it by being near the Powder Pink color.

The Happy Easter sentiment is from Circle of Spring (retired). Apparently I couldn't find any current Happy Easter sentiments in my stash. Oh well, there is no harm in using retired stuff. :) I added a little yellow to the tag by lightly watercoloring some Daffodil Delight ink on it.

And as usual to finish off the card I added sequins and some lace ribbon.


I hope for any of you who are stuck in snowy weather, this just brightened your day a bit!

Have a nice day!

Thursday, March 16, 2017

Basket Bunch Easter Cards: Stampin' Up! Artisan Blog Hop

Hello Welcome to the Stampin' Up! Artisan Blog hop. There are 20 of us from around the world so be sure to follow along to see every one's projects. You should have just come from Holly's blog. She had some fabulous projects for you this week!


Our theme for this month was to focus on Basket Bunches or Dragonfly Dreams. I chose to work with Basket Bunches. I had used Dragonfly Dreams for my display stamper projects back in November so I was out of ideas for that set, haha! Plus that bunny is so cute in Basket Bunches that I knew I wanted to do something with him. I'm also glad to have fun springy cards to share after ALL of the snow we just got here on the east coast. I mean it's mid-March, this is crazy!!


This came out exactly how I pictured it in my head. How cute is the carrot wreath?? To get a perfect circle shape for the wreath, I cut out the size circle I wanted out of the circle framelits. See below.


I used this circle as the base for the carrots. I stamped, colored and die cut 15 carrots to fit around the wreath. Then I cut and colored the bunny as well. The bunny's tail is one of the pom poms from the Pom Pom trim. As I was cutting it off the trim, it came unraveled a bit and got a little puffy but I like the look it gives. I stamped and embossed the sentiment on a Pool Party tag. To finish off the card I added ribbon from the Cupcakes and Carousel embellishment kit and some enamel shapes and gold dazzling details. This is my favorite card!!


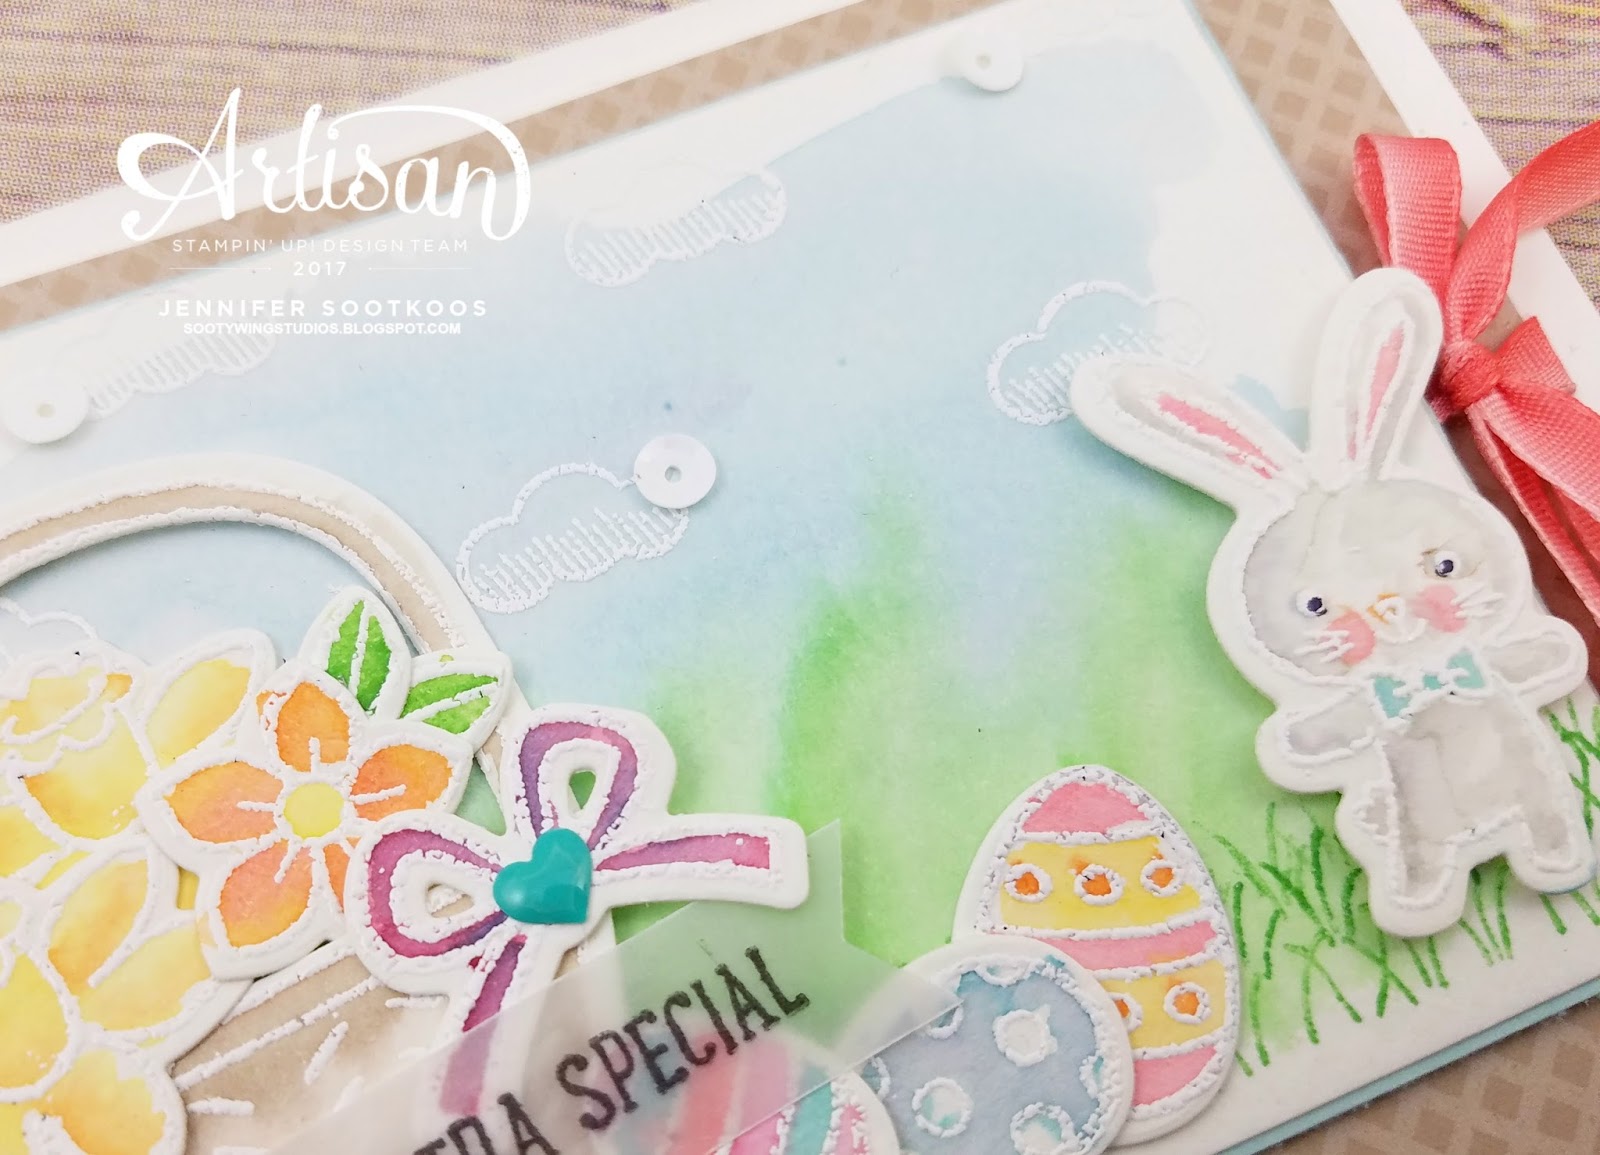
For my next card I did lots of watercoloring!


I stamped and embossed everything on water color paper with white embossing powder. I then used inks and my aqua painter to color everything in. The background was also water colored and the bottom was stamped with the little grass image.


If you look closely at the background you will see that I embossed several clouds from the Lift Me Up stamp set with white embossing powder. I also added white sequins to several of the clouds. You can't have a card without sequins or enamel shapes!! :) 


The sentiment was stamped on vellum paper and glued using the fine tip glue pen. Since this glue dries clear it's perfect to use on vellum paper!

I hope you enjoyed these Easter cards!!

Next up is Jessica Winter. Click below to check out her amazing projects!


Here is the link list of the full Artisan Design team for you to browse:


Product List


Thursday, March 2, 2017

Happy Chocolate Bunnies: Stampin' Up! Artisan Blog Hop

Hello!! Welcome to the Stampin' Up! Artisan Blog hop. There are 20 of us from around the world so be sure to follow along to see every one's projects. You should have just come from Holly's blog. She had some fabulous projects for you this week!

For this blog hop we are focusing on anything that came in our box. That was tough since there were so many great things to choose from. And then for some reason I was having crafter’s block. I made the card from Monday’s post and was feeling motivated to get more things done and I had all these ideas in my head. But when I started putting them to paper, they just weren’t turning out how I had hoped. Ever have that happen?? It’s the worst. Some days I’m on a roll and all these cute ideas in my head work out perfectly and then other days, Blech! Nothing.


So when I was working on my other Artisan projects using the Basket Bunch set, I had started a card with these bunnies. I wasn’t sure if I was liking these either so I decided not to use them for my other post. So they were just sitting on my desk staring at me. Then I decided I wanted to cover them with the Fine tip glue. Sara Douglass shared this fun idea a few weeks ago about using the glue to cover one of the monsters from the Yummy in my Tummy set. I thought it was a cool idea so I tried it on the bunnies. And then this project just sat here while it dried and then sat some more. Those poor bunnies! I knew I couldn’t let them go to waste so I finally sat down and finished this card. And now I think it’s super cute!


I started off water coloring my background with Pool Party, Tempting Turquoise and Dapper Denim inks. While the shimmer paper was still a little wet, I stamped one of the splatter image from Gorgeous Grunge with the same color inks. I die cut and glued all of the bunnies with dimensionals to the watercolor background. I decided to put them on the background first before applying the Fine Tip glue. It was easier to do it this way with them already elevated from the background paper. Applying the fine tip glue to the bunnies was oddly soothing, haha!! Just make sure to go lightly and not add too much. As you can see from the top middle bunny he had a little too much and got a little bubbly. Once these were all dry, I added the Blushing Bride twine, the sentiment (which is so funny!), and some embellishments. If you look closely you can see clear sequins on some of the splatters.

Here is one more close up of the chocolate bunnies for you!!

My next card uses the Happy Celebrations set. This is a really cool set to work with. I can't wait to make more cards with this set.


The first thing I did was stamp the word Happy in Peekaboo Peach. I used the “kissing” technique on this. What that means is I inked up Happy in Peekaboo Peach and before I stamped it onto the card stock, I used the small circle stamp inked with Watermelon Wonder and stamped it in random places on the word Happy. So when you stamp Happy on your card stock, it will come out in Peekaboo Peach with Watermelon Wonder polka dots. Fun, right! After that I used the embossing folder to emboss the word. Then I used the circles from the set and stamped them several times in Peekaboo Peach and Flirty Flamingo. I would ink the circle up once and then just keep stamping on the white card stock so you can several circles in various shades, all getting lighter and lighter. I cut out 4 circles from the Layering Circle Framelits in Dazzling Diamonds glimmer paper and glued them to the card. I then added some twine, the sentiment and some embellishments.


I hope you enjoyed today’s cards.

Next up is Jessica Winter. Click below to check out her amazing projects! She is so talented!


Product List