Showing posts with label stampin' blends. Show all posts
Wednesday, July 15, 2020
Playful Pups
Hello, it's Wednesday! For some reason this week seems to be dragging on a bit slower than usual. Oh well, at least I have a super cute card to share. I'm using the Playful Pets set again. But this time I'm using the adorable dog image. Isn't that dog so fun?! I love how this card came out.
I did something fun with the dogs on this card. If you notice in the set the dog image is facing in one direction but on my card one of the dogs (top right) is facing in the opposite direction. To achieve this look you will need a few supplies; a silicone craft sheet, the Stamparatus, card stock and the ink of your choosing. First, I stamped the dog onto the silicone sheet that is secured on the Stamparatus, then I layered Whisper White cardstock on top of the silicone sheet. I added more ink to the stamp (making sure to keep it in the stamp position on the clear plate of the Stamparatus) and then I stamped the dog again. When you do this you will end up with the dog image on both sides of the card stock. Next, you will die cut the dog. After you cut out the dog you can turn him over so that he faces towards the other dogs. I then colored all the dogs with my Stampin' Blends.
I thought it would be fun to place the dogs in several positions on the squares and I think it came out cute. The DSP is all from the Playful Pets pack. The sentiment is from Manly Mates and is stamped on Gray Granite card stock. I die cut the sentiment with one of the dies from Hippo and Friends dies. Can't wait to play with that set next!! For the finishing touch I added Misty Moonlight baker's twine from the Flowers for Every Season ribbon pack and some In Color Enamel dots.
I hope you enjoyed these fun pups!
Tuesday, June 9, 2020
Sunflowers Blessing
Hello! I hope everyone had a wonderful weekend. The weather was fantastic here. Today's card features the Jar of Flowers stamp set again. This time I took one of the flower images and stamped it several times on white cardstock. Then I colored the flowers with Stampin Blends. It took a bit of time to color in the flowers but I love how the background paper came out! After coloring in all of the flowers I added some splatter with the Pool Party blend. I wanted some of the white spaces to be filled in a bit.
After coloring, I used the Stitched So Sweetly dies to cut out Pool Party and Coastal Cabana cardstock. On the Coastal Cabana cardstock I embossed the sentiment from So Sentimental in white embossing powder.
I layered all of these pieces on top of In Good Taste DSP. I also added a pretty bow using ribbon from the Flowers for Every Season ribbon combo pack. That Just Jade gingham ribbon is so cute and matches nicely with the other turquoise colors on the card! And for the final finishing touch, I added Champagne Rhinestone basic jewels.
What are your favorites from the new catalog?? I have new items arriving tomorrow so hopefully I'll have a chance to play more!
Have a wonderful day!
Saturday, June 6, 2020
Jar of Flowers Birthday Card
Hello! The new Stampin' Up! catalog is live and it's fantastic!! As usual, Stampin' Up! has hit it out of the park with their new sets. The first set I am using is called Jar of Flowers and it comes in a bundle with a fun mason jar punch.
I stamped the jar and flowers in Gray Granite and colored in the flowers with various Stampin Blends. These flowers from the set are so pretty and so fun to color. I love how the jars in the set are reversible stamps. This means that I can turn the stamp over and use it to color the water in the jar. How fun is that!!
Some of the other new items I used was the super pretty Forever Greenery (green strip) and In Good Taste (wood grain) DSP. I think I will be using the In Good Taste DSP A LOT!! I paired that with Pretty Peacock card stock that was embossed with the Tasteful Textile embossing folder. The finishing touches include ribbon from the Flowers for Every Season combo pack and In-Color enamel dots.
Are you in love with this new set already too! Have you received a copy of the catalog yet? If not, contact me and I will get one sent out to you.
Have a wonderful day!
Thursday, March 5, 2020
GDP #230 - Magnolia Floral Thank You
Hello! I'm playing along with the Global Design Project challenge this week. This week's challenge is a sketch challenge. This is a great basic sketch. Pop on over to Global Design Project to check out the projects from the design team.
Now here is my submission.
I pulled out the Good Morning Magnolia bundle for this card. This set was one of my early favorites from the annual catalog. It's such a great flower for coloring. I used the Petal Pink and Granny Apple Green Stampin Blends for the flower. After I colored the flower, I die cut it and then cut the leaves so I could rearrange them behind the flower.
I layered the flower on a Terracotta Tile circle. This is my first time using this color and I like how it goes with Petal Pink. The DSP used is the Golden Honey DSP from the SAB catalog. Again, this DSP has some really great bold and basic prints.
The sentiment is from Seriously The Best, which is so fitting. This set really is great. I didn't think I needed it at first but I love having a large script sentiment and then smaller sentiments to go with them.
Oh and one other fun element I used on this card are the leaves from the Magnolia Lane cork embellishments. I tucked them in behind the other leaves for some additional texture to the card. It gives the card a fun pop!
Isn't this a fun challenge??!
Have a great day!
Now here is my submission.
I pulled out the Good Morning Magnolia bundle for this card. This set was one of my early favorites from the annual catalog. It's such a great flower for coloring. I used the Petal Pink and Granny Apple Green Stampin Blends for the flower. After I colored the flower, I die cut it and then cut the leaves so I could rearrange them behind the flower.
I layered the flower on a Terracotta Tile circle. This is my first time using this color and I like how it goes with Petal Pink. The DSP used is the Golden Honey DSP from the SAB catalog. Again, this DSP has some really great bold and basic prints.
The sentiment is from Seriously The Best, which is so fitting. This set really is great. I didn't think I needed it at first but I love having a large script sentiment and then smaller sentiments to go with them.
Oh and one other fun element I used on this card are the leaves from the Magnolia Lane cork embellishments. I tucked them in behind the other leaves for some additional texture to the card. It gives the card a fun pop!
Isn't this a fun challenge??!
Have a great day!
Wednesday, March 4, 2020
More Bonanza Buddies
Happy Wednesday! Quick post here for you today. But I wanted to share another card with the Bonanza Buddies bundle. These guys are just the cutest and so much cuter when there is a die to cut them out!!
I decided to whip out some embossing paste for this card. It's been a while since I've used it. But it made me remember how much fun it is and how it gives the card some extra dimension. I used the cloud mask from the Pattern Party Decorative masks and used the embossing paste on Pool Party card stock. Once that dried, I added a strip of Granny Apple Green card stock and the die cut animals.
In the top left corner, I die cut the party banners with Sparkle Glimmer paper and added a sentiment in the bottom corner. I love using the classic label punch for those smaller sentiments.
I hope this card brightened your day today.
Have a wonderful day!!
Tuesday, February 25, 2020
Cute Koalas
Hello, Happy Tuesday! I'm officially in love with the Birthday Bonanza buddies!! I'm finally taking a slight break from the Painted Poppies bundle and I'm moving on to the Birthday Bonanza bundle. I wasn't planning on getting this set but the animals in this set are just way too cute to pass up. Today, I decided to use the cute koala and kind of make my own DSP.
I stamped Mr. Koala several times on a sheet of Shimmer White card stock. In the blank spaces I colored it with the light Pool Party marker and added some Granny Apple Green little stars. Aren't they all just so cute!!
The base of the card uses one of the sheets from the Birthday Bonanza DSP. Then I added my colored card stock of koalas on top. If you look closely you can see I added some Happiness Blooms enamel dots to the centers of some of the green stars.
The "Hello" sentiment is from Seriously the Best stamp set and the "friend" sentiment is from the Well Said stamp set. Friend was stamped and embossed with white embossing powder. Hello was stamped in Poppy Parade ink and then I fussy cut it out.
I just love the fun bright colors of this card. So are you in love with these guys yet??? Don't be surprised if you see some more card with these guys over the next few days! :)
Have a fabulous day!
Tuesday, August 6, 2019
You're Udderly Fabulous!
Hello there! Miss me?? This summer has just been flying by and I haven't been able to get into my craft room to do some card making. Sure I've had some time in the evenings some nights but lately all I want to do is just go for a swim after work and then veg out on the couch.
I have been missing crafting though and I had some time this weekend so I went downstairs and got to work! I actually found the time to make 2 cards, so I'll have something else to share this week! I feel like I go in spurts where I'm making a bunch of cards and then I'll go a month or 2 without doing anything. Let's hope I can keep this pace up and not take such a long break!
For this card, I used one of the new sets from the catalog called Over the Moon. I just love these cows. They are so cute and fun to color in. I colored them in various Stampin Blends.
The background behind the cows is watercolored with Granny Apple Green and Balmy Blue ink. After it dried, I stamped the little grass image. Isn't that so cute!? I then stamped the Buffalo Check stamp in Crumb Cake ink on to white paper, which I then embossed with the Subtle embossing folder.
To finish off the card I used the 2019-2021 In Color Faceted Dots in Purple Posy. I did go a little crazy and add a few of them. The reason I did that is because I ended up with 2 packages of these dots. I obviously liked them so much, I forgot that I ordered them 2 different times, ha! Ooopps! Oh well, they are very nice and I might as well use them right? instead of hoarding them.
What do you think? Have you ordered this set yet? Is it on your wishlist?
Thanks for stopping by!
Monday, June 10, 2019
Farm Animal Birthday Party Card
Happy Monday! It's a gray and gloomy Monday here. But I have a super cute card to share with the new Over the Moon stamp set. I had no intentions of getting this stamp set but as I kept seeing adorable cards with it, I caved and got it. Plus it was perfect to use for my nephew's first birthday party this past weekend. I had made his invitations and it was a farm theme party so of course this cow fit right in!
I stamped the cow in Memento and colored him with several different Stampin' Blends. Then I cut him out. I used the Stitched Shapes for the Night Of Navy circle behind the cow and the Stitched Nested Labels dies for the Crumb Cake card stock. I added a bit of the Whisper White polka dot tulle ribbon behind the circle. I am so glad this ribbon is in the new catalog because I love it and use it ALL.THE.TIME! :)
To continue the theme from the party invites, I used the Buffalo Check stamp for the background. I stamped this in Real Red on white card stock. The sentiment is stamped on Pool Party card stock and then I just cut out each of the lines separately. I finished off the card with some Night of Navy Happiness Blooms enamel dots.
What do you think? Do you love this little guy too? Is this on your wishlist?
Have a great day!
Thursday, June 6, 2019
The New Catalog is Here!!

It's the most wonderful time of the Stampin' Up! year!!! The new 2019 -2020 catalog is here!! I probably say this every time but I think this is truly the best yet! There are soooo many new stamps that I need to get. My first order is on it's way and should be here tomorrow! Yippee!!!!
But I did have some products that I pre-ordered so I have something new to share. This card features the Bird Ballad Bundle and the Bird Ballad Laser cut cards and tin. I think this is going to be a super popular bundle. I'm not particularly interested in the bird stamps but these stole my heart.
Even though I have new cards to share, I've been in a bit of a funk creating and I'm not sure I'm in love with this card but I'm going to share it anyway.
The purple behind the laser cut card is one of the new 2019-2020 In Colors called Purple Posy. I'm declaring it now, that this will be my favorite color of the bunch! (Look how great it goes with the Gorgeous Grape ribbon).
The bird was colored with various Stampin' Blends on Shimmery white cardstock. I did fussy cut him out but he was just one little bird so it wasn't too bad. The sentiment is die cut with the new Stitched Nested Labels dies. These dies are also another must have on the list! Isn't that stitched border just great!
Have you looked through the catalog??? What are your favorites? If you don't have a copy yet of this fabulous catalog, let me know and I will get one to you right away!
Hopefully I'll be back tomorrow or this weekend with something new from my order.
Sunday, April 28, 2019
Just Add Ink #454 - Magnificent Magnolia
Hello!! I have some fun new goodies to share with you today!! It feels like it's been a while since I've made a card. Last month I was working on a bunch of craft fair items and then this month, I haven't been crafting all too much. But I just received some products from the upcoming Stampin' Up! catalog that will be available in June. Since I went to OnStage at the beginning of the month, I was able to purchase some products earlier. This set is called Good Morning Magnolia and it is fantastic!! I am so in love with this set. It comes in a bundle with the new Magnolia Memory Dies. I used the large die to cut the flower out. And I have a another fun project I made with some of the other dies that I'll be sharing soon.
Anyway since I had all of these new goodies, I wanted to get my mojo going again so I am playing along with the Just Add Ink challenge this week. This week is a color combo.
These are some fun bright colors to work with. The flower was colored with the Pineapple Punch blends and for the leaves I used Granny Apple Green with a touch of Pineapple Punch on the ends. I used shimmer paper so in real life this flower has a wonderful sparkle.
After I die cut the flower, I layered it on Coastal Cabana card stock that was embossed with the Subtle Embossing folder. (Another favorite, which is also in the new catalog....YAY!) The sentiment was then stamped and embossed in white onto Blueberry Bushel card stock. I probably would not have chosen this color to stamp the sentiment on but that's why I love color challenges, to make me use color combos I don't normally use. And I actually love the addition of this bright color.
Another new item you might spy is that pretty lace trim under the sentiment. Swoon, it's sooo pretty! You will definitely need this too! I then finished off the card with some gold sequins for that extra bling.
I hope to brighten someone's day whoever I end up sending this card too!
And this card has gotten my creative juices flowing but that will have to wait as I'm off to the Bahamas in a few days for some sun and relaxation!! Hopefully when I get back, I'll be super relaxed and ready to jump back into crafts!
Thanks for stopping by!
Wednesday, January 9, 2019
Amazing Life Shimmer Card
Hello! I'm here today showing a new stamp set from the Occasions catalog called Amazing Life. I had a little bit of time last night to finally play with some new things. Between the holidays and a round of the stomach bug hitting our house, it's been a while since I've gotten crafty. This stomach bug has not been fun. My son is the only one who hasn't gotten it and fingers crossed, he makes it out ok! Anyway, I didn't have a whole lot of time to make something and I've kind of been in a craft funk. So this is not my best but it's gets the craft ball rolling. I need to get back into some kind of groove.
I received this set during convention. It's one I might not have purchased on my own but there are some pretty cute stamps in the set. I think I will use it more than I thought. The little cake is fun. I started by stamping it multiple times on Gorgeous Grape card stock. Then I stamped one more on Whisper White that I colored with Stampin' Blends and cut out.
On the Gorgeous Grape card stock, I sprayed it with a mix of rubbing alcohol and shimmer paint to make it super duper shimmery. I might have sprayed a little too much in some spots. But that's ok, who doesn't want extra shimmer for their birthday! :)
I stamped the sentiment on Whisper White card stock and colored "cake" with the Flirty Flamingo light and dark Stampin' Blends and the light Lovely Lipstick blend to give it an ombre look. (I used the same colors on the cake).
I finished the card with Black Shimmery ribbon, While Polka Dot tulle ribbon, Silver mini sequin trim and Glitter Enamel dots. Lots of extra shimmer and bling! :)
Thanks for stopping by. Have a great day!
Monday, November 26, 2018
Buffalo Plaid Christmas Elves
Happy Monday! I hope everyone enjoyed the Thanksgiving holiday. Ours was good. We hosted a dinner on Thursday so we were busy beforehand cleaning cooking and decorating for Christmas! :) Our new tradition is to decorate for Christmas while we host Thanksgiving. While it's extra work to do while we are trying to prep and clean and it's so nice to have it done so after Thanksgiving we can rest. Plus most of our family doesn't come back to our house after thanksgiving so no one really gets to see our decorations. Oh and did I mention that once Thanksgiving is over we can REST! haha! that is the best part. So I used the few days off to go to a winery with some girlfriends, go to the mall and movies with the kids and then just watch football on Sunday.
I did squeeze in some craft time too. I used my two new favorites (Signs of Santa and Buffalo Plaid). Doesn't the red buffalo plaid go perfectly with those little elves?
This card came together fairly quickly. I spent the most time coloring the elves. (Especially because I had to color 1 of the elves twice since he didn't die cut evenly). But after I colored and cut the elves, I stamped a stitched shape circle with one of the images from the set in Pool Party ink on Pool Party card stock. The buffalo plaid stamp was stamped in black ink on Real Red card stock.
The sentiment is from Cookie Cutter Christmas (which is on sale today for 10% off....QUICK, Hurry go grab this set!) I wanted a smaller sentiment and I didn't feel like using the ones in the Signs of Santa set and I thought this was perfect. After I added the sentiment, I added a few green enamel shapes.
Have I convinced you all to get these 2 stamp sets yet?? I sure hope so because they are just the best!
Have a wonderful day!
Thursday, November 15, 2018
Humming Along - Christmas Flower
Happy Thursday! Or if you're here in the northeast, Happy Snow Day! It's November and I can't believe we are supposed to be getting our first snowfall today. It shouldn't be too much but I'm just not ready for that yet. It was so nice and hot in Orlando last week and now here we are getting ready for snow!
Anyway, I have about 1,000 other things I should be doing but I couldn't help myself to play with one of the new stamp sets that we received at OnStage. This set is called Humming Along and will be available in the new Occasions catalog. This was one of the sets that everyone attending received. I wasn't sure I liked it at first but now that I colored in this flower, I can see that I will love it.
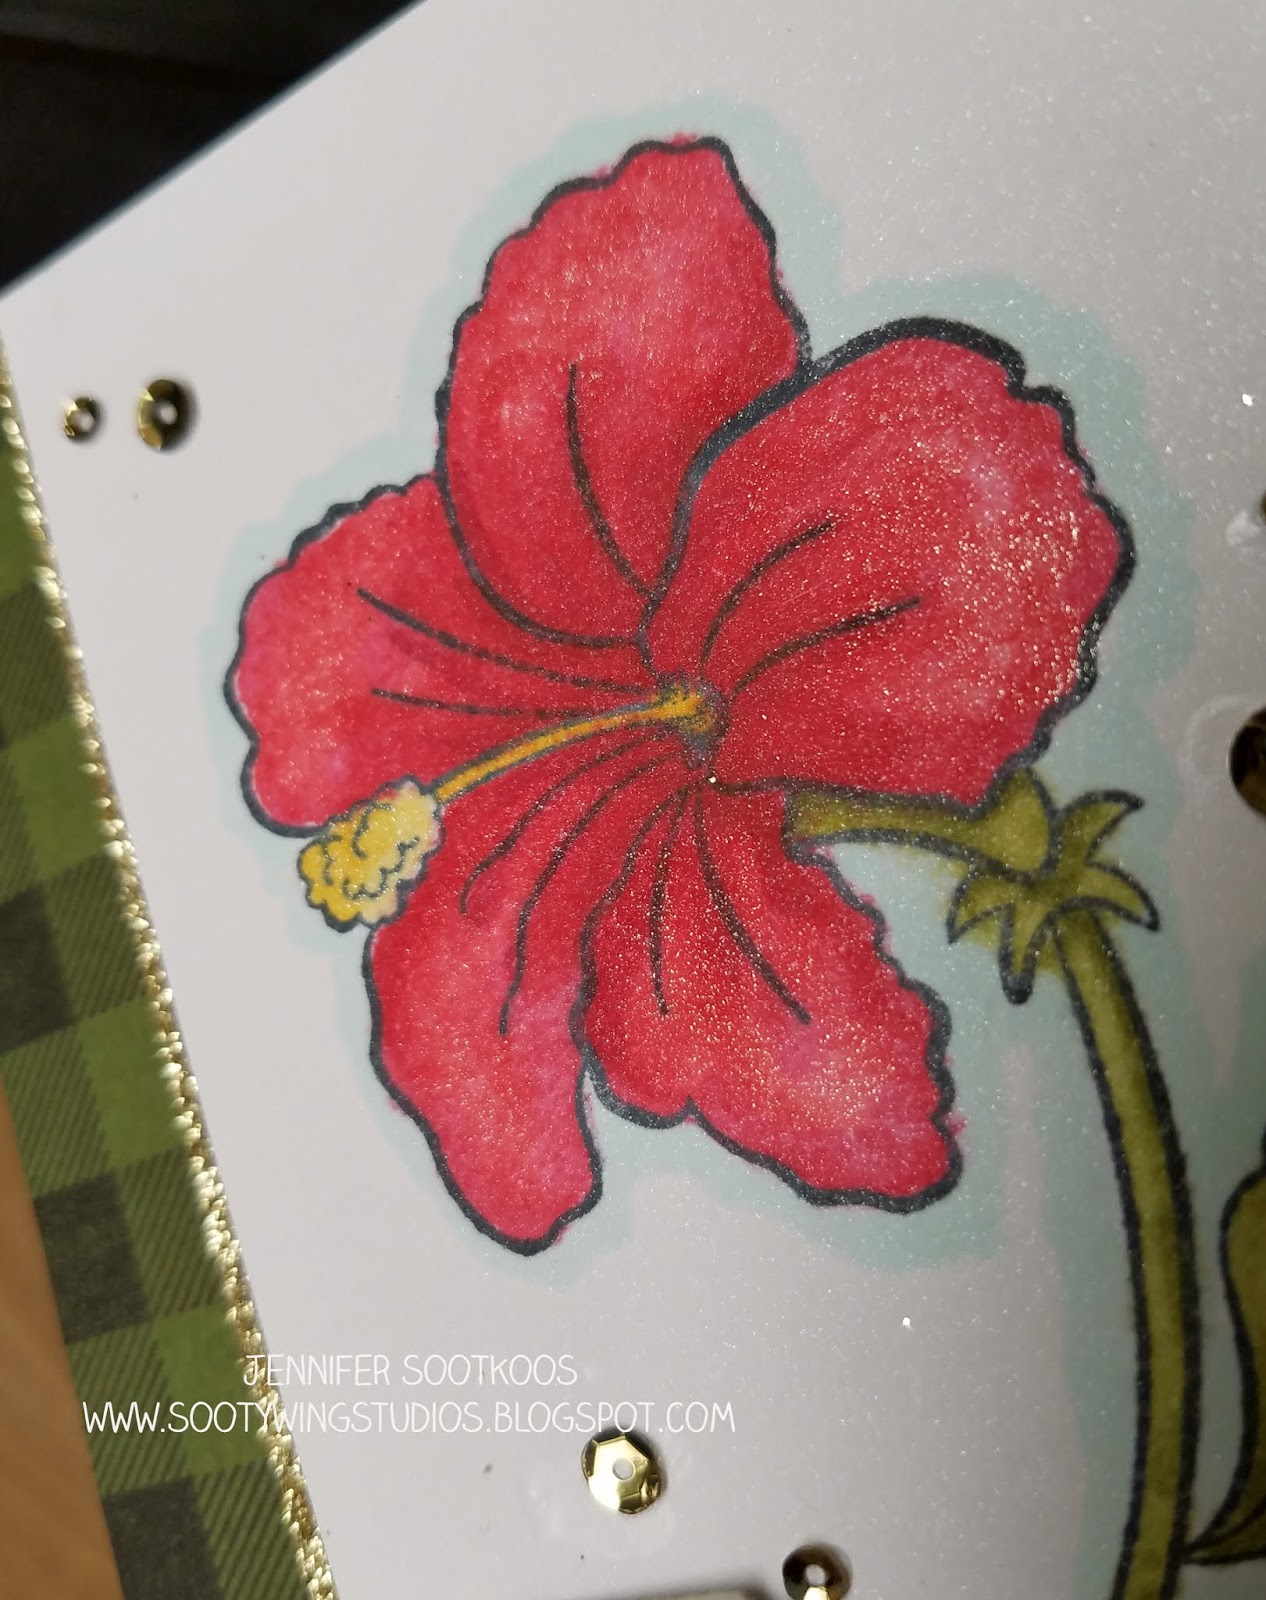
I colored the flower using the following Stampin' Blends colors: Real Red, dark Cherry Cobbler (for shading in the middle of the flower), Daffodil Delight, Old Olive and light Pool Party for the outside shading. If you notice in the closeup, the flower has a nice shimmer. I stamped the image on Shimmery Card stock and added Wink of Stella to the flower for some extra sparkle.
The background of the card is Mossy Meadow stamped with the Buffalo Plaid stamp in black ink. I LOVE, LOVE, LOVE this stamp! I sure it hope it carries over into the new year!! And the Merry Christmas is from the Merry Christmas to All bundle. Don't you just love that font in the Christmas die cut! So fancy!!
For those of you getting snow, I hope you enjoy it!
Thanks for stopping by!
Tuesday, November 6, 2018
Christmas Ornaments
Happy Tuesday! I have one more project (for now) to share using the Signs of Santa stamp set. I told you, I love this set! I wanted to get this project shared before I head out to Stampin' Up!'s convention in Orlando this week. I leave tomorrow and I'm ready for tons of stamping and meeting friends for the next few days!
The ornaments are from Michael's and come with 2 - half circles to a package so that you can make 1 ball ornament. Instead of making them a ball ornament, I added a cardstock backing to them so I could get 2 ornaments.
For the elves, I stamped the Buffalo Plaid stamp in Coastal Cabana ink on Pool Party cardstock. I die cut it with one of the Layering Circle framelits. To give it a little additional support I die cut the largest circle from the Stitched Shapes framelits with some of the thick cardstock found in the DSP packages. You know, that piece of thin card board that supports the DSP. It's perfect for some extra support on the ornaments!
Inside the ornament, I stamped, color and die cut images from the Signs of Santa set. I used a bunch of dimensionals to make them pop. For the elves, I also added some of the discontinued Santa's Workshop enamel shapes. Once I glued everything onto the cardstock, I added a bunch of retired mica flakes that I had lying around. You could you any kind of sequins or other fun things to add into the ornament.
Once that was all done it was time to add the ornament to the card stock. I ran hot glue around the ornament and glued it to the card stock. It wasn't looking so I added another thin layer of glue and adhered some ribbon around the outside. For the elves ornament, I added Garden Green Baker's twine. For the Santa ornament, I added some retired Real Red tinsel trim.
For both ornaments, I added a Garden Green baker's twine bow and loop to add it to the tree.
One thing to note on the background of the Santa ornament, I used a piece of the Festive Farmhouse DSP instead of stamping the background. Looks super cute too!!
I am so happy with how these came out! The characters are adorable and they give off a ton of sparkle. My kids loved shaking them and they can't wait to make some of their own!
I will be back next week after a fun filled trip to Orlando. I'm sure I will have tons of pictures to share!
Sunday, November 4, 2018
Christmas Elves!
Hello! I'm back again with another card using Signs of Santa! I can't tell you how much I love all of the images in this set. Sooo don't be surprised when I have another project to share this week with this set. But it's a super duper cute project that you will love!
I started this card with the Festive Farmhouse DSP for the background. I took a piece of Gray Granite card stock, cut out a circle and embossed it with the Subtle embossing folder. I love this embossing folder for adding just a little bit of texture to the card stock.
The little elves were colored with the Stampin' Blends. The colors I used were: Real Red, Old Olive, Daffodil Delight, Crumb Cake, Petal Pink, Bronze, Gray Granite, and Flirty Flamingo (light). Isn't that guy peeking out from the circle adorable?
The sentiment is from the Merry Christmas to All stamp set stamped in Cherry Cobbler and Mossy Meadow.
I hope you enjoyed these mischievous little guys!
Subscribe to:
Posts (Atom)


